Disclaimer: This post includes affiliate links that I may get compensation from if you decide to make a purchase. Thank you for the support!

Monday Makings…

I have a large stack of WIP’s… What about you??  The majority of them are crochet projects that I fully intend to finish!!!  But this week, my daughter asked me if I could Knit (yes Knit) a hat for her friend’s birthday,,, And she would by the yarn… How can you say no to that??  Well I guess if you didn’t know how to knit you would say no…lol.

So, She brought the yarn home… A gorgeous skein from Cascade Yarns Eco Duo line… It was a Alpacha/Merino Wool blend.. undyed. I don’t knit often, but I can do the basics… So I had her show me a picture of what type of beanie she wanted, and I dug out my knitting needles(well found them in my knitting drawer)!  Then the fun began…  I was nervous, I wanted it to turn out just as she wanted and also,,, not ruin the great yarn she bought…  When you are making something for someone else’s vision,,, It is always a little scary!

Finally a few hours later… The hat was complete!! Yay,,, But I was worried it wasn’t what she had pictured,,, I thought it may be a little more slouchy than she wanted…  When she arrived home later that evening I showed it to her and she was very happy… I was greatly relieved!!!  So here it is,,, One of my few knitted projects…

IMG_20140309_193448_233-1


Back to crocheting…  Do you hear a sigh of relief??  I am so much faster and proficient with crochet, it is really my craft of choice!!  But after knitting this hat,,,I thought… Hmmm maybe I will try a little more knitting in the future!


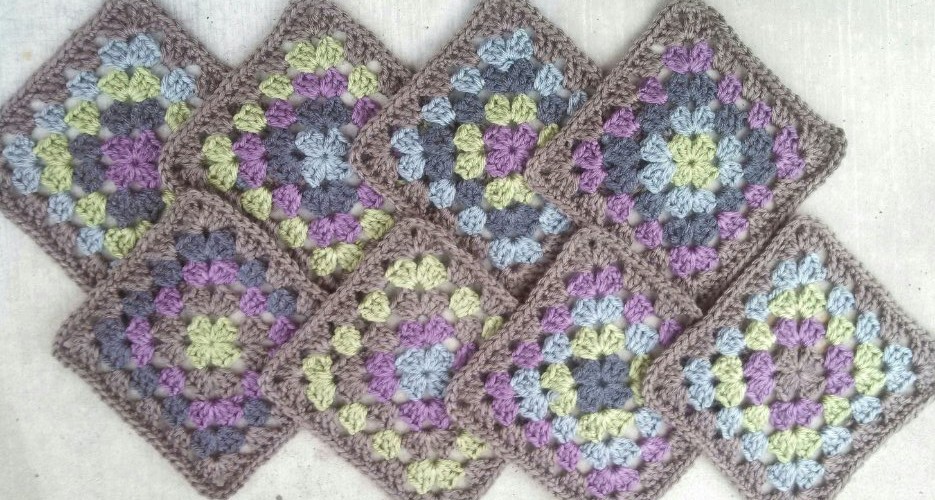
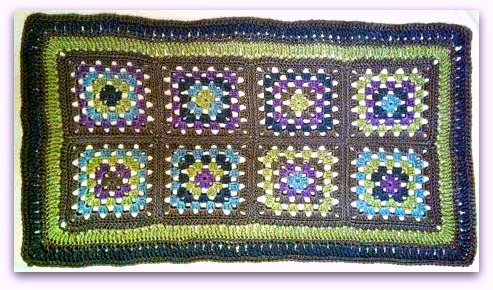
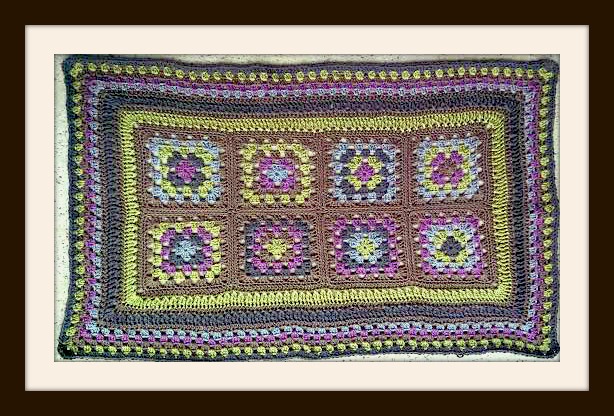
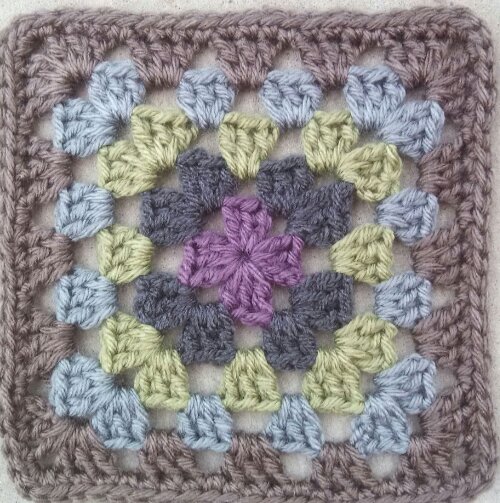
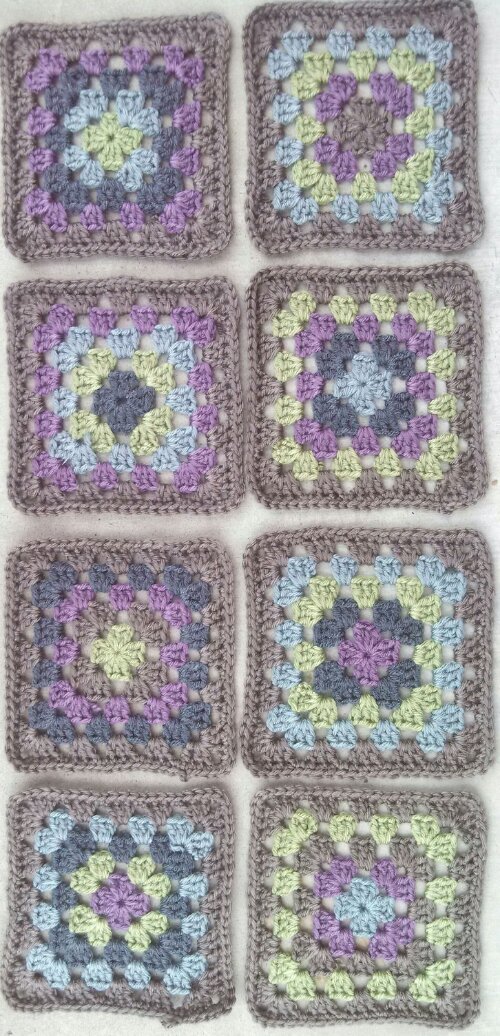
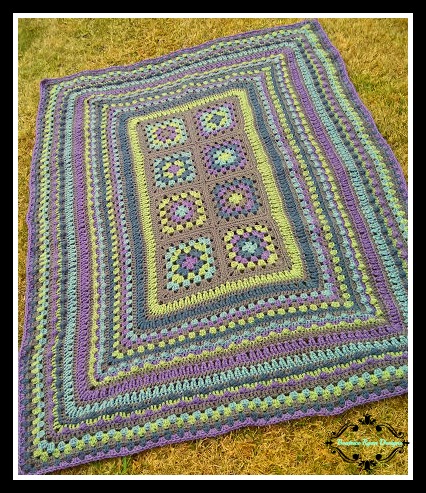
This week I also completed Week 8 of the Crochet-A-Long… We are nearing the end… The edging will be started in the next week or so… I am really happy with the afghan so far!  All the pictures on Facebook Show and Tell have been really great… If you have time,, hop over to last Friday’s Show and Tell and check them out!!


week 8


Week 8 grass


1922411_602142453207236_1229727352_n

Charlie could hardly sit still for this picture… All he wanted to do was bounce all over the yard!!

Happy Crocheting!!!

Elena


Tuesday Tidbit… Crochet-A-Long Special Giveaway…

It isn’t to late to join in the  Crochet-A-Long… We are all finishing up week 4… And you may ask… Why would I try to start a new project and catch up??  Or you may be a little behind and feel like not finishing.. How about a little incentive!!!

Yes~ A special prize package will be given away to one lucky participant!!!  

How do you qualify??

1.  You must complete the full afghan pattern within 10 days of the final pattern section post!

2.  You must post a picture on Facebook on the designated post (directions will be with the final pattern post) or Email me a picture of the completed afghan within 10 days of the final pattern post!

3.  You must complete this third and final step… To be revealed in the final pattern section post!!! Don’t worry… It will be simple!!

wpid-IMG_20140112_131905_808-1-1.jpg

Week 1

wpid-IMG_20140119_145445_417-1.jpg

Week 2

Week 3

Week 3

week 4

Week 4

.

So,, Are you in??  I will be revealing the Special Prize soon!!! 

And…. This is a very special week here at Beatrice Ryan Designs…  I have another surprise coming up this Friday…So stay tuned!!

Happy Crocheting…

Elena

.

.

.

.

Beatrice Ryan Designs Crochet-A-Long Afghan… Week 1

Here we go!  The time has finally come for us to start our Afghan!!  If you missed the materials list you can find that post in the Crochet-A-Long tab at the top of the page.  Each week I will post a Free Pattern section on Saturday morning…   All CAL weekly Free Pattern sections will be posted in the Crochet-A-Long tab throught the entire CAL.  Once complete it will be posted as a pattern in whole and available in the Pattern Tab.  You can follow along here each week, And you can also join me on Ravelry with my Crochet-A-Long Group, on Facebook each Friday evening for our “Show and Tell” and on our Pinterest Board designated just for this CAL… If you want to post your progress pictures on Pinterest you need to shoot me an email to [email protected] so I can add you to the group!

So here we go!!

This CAL will start with 8 basic Granny Squares, Each Granny Square should be approximately 6″-7″ across…  Gauge is not important so if you want to make a smaller or larger blanket you can adjust this by your hook size…The dominate or neutral color will be worked for the LAST ROW of each square.  You can use it more than once in your square if you desire.  These will be the only time we use Granny Squares in this pattern… We will be joining them together in a specific manner next week…  This afghan will be worked in the round.

.

wpid-IMG_20140112_131905_808-1-1.jpg     wpid-IMG_20140112_131237_504-1.jpg     wpid-IMG_20140112_131056_699-1.jpg

These are my 8 Granny Squares… I am loving my colors!!

.

Stitches:

Ch – Chain     Sl St – Slip Stitch     Sc – Single Crochet     Dc – Double Crochet

Tips:

I work over my ends as I go. This saves time weaving the ends in.  I also prefer the Magic Circle to start my project, Click Here for a video tutorial.  If you prefer to use the basic method of Ch 5, join into a ring that will work just fine!

You can use as many colors as you like, or make this a solid color afghan.

Instructions:  Make 8 Granny Squares

Make a Magic Circle

Row 1:     Ch 3 (Counts as Dc now and throughout), 2 Dc in center of ring, Ch 2, *3 Dc in ring, Ch 2*, Repeat * * 2 more times, Join with Sl St to top of Ch 3. Pull center tight = 4-Dc 3 clusters  and 4- Ch 2 spaces.   Fasten off.

Row 2:     Join next color to any Ch 2 space using a Sl St. Ch 3, 2 Dc in same as joining.  Ch 2, 3 Dc in same space, *Ch 1, 3 Dc in next Ch 2 space, Ch 2, 3 Dc in same space*, Repeat * * 2 more times. Ch 1 Join to top of Ch 3 with Sl St. Finish off. = 8 – Dc 3 clusters, 4 – Ch 2 Spaces and 4 – Ch 1 Spaces.

Row 3:     Join next color to any Ch 2 space using a Sl St. Ch 3, 2 Dc in same as joining.  Ch 2, 3 Dc in same space, *Ch 1, 3 Dc in next Ch 1 Sp, Ch 1, 3 Dc in next Ch 2 Sp, Ch 2, 3 Dc in same Ch 2 Sp*, Repeat * * 2 more times. Ch 1, 3 Dc in last Ch 1 space, Ch 1,  Join to top of Ch 3 with Sl St. Finish off. = 12 – Dc 3 Clusters, 4 – Ch 2 Spaces, 8 – Ch 1 Spaces.

Row 4:     Join next color to any Ch 2 space using a Sl St. Ch 3, 2 Dc in same as joining.  Ch 2, 3 Dc in same space, *Ch 1, 3 Dc in next Ch 1 Sp, Ch 1, 3 Dc in next Ch 1 Sp, Ch 1, 3 Dc in next Ch 2 Sp, Ch 2, 3 Dc in same Ch 2 Sp*, Repeat * * 2 more times. Ch 1, 3 Dc in next Ch 1 space, Ch 1, 3 Dc in last Chain 1 space, Ch 1.   Join to top of Ch 3 with Sl St. Finish off. = 16 – Dc 3 Clusters, 4 – Ch 2 Spaces, 12 – Ch 1 Spaces.

Row 5:     Join next color (Your dominant or neutral color)  to any Ch 2 space using a Sl St. Ch 3, 2 Dc in same as joining.  Ch 2, 3 Dc in same space, *Ch 1, 3 Dc in next Ch 1 Sp, Ch 1, 3 Dc in next Ch 1 Sp, Ch 1, 3 Dc in next Ch 1 Sp, Ch 1, 3 Dc in next Ch 2 Sp, Ch 2, 3 Dc in same Ch 2 Sp*, Repeat * * 2 more times. Ch 1, 3 Dc in next Ch 1 space, Ch 1, 3 Dc in next Ch 1 space, Ch 1, 3 Dc in last Ch 1 Sp, Ch 1.   Join to top of Ch 3 with Sl St. Finish off. = 20 – Dc 3 Clusters, 4 – Ch 2 Spaces, 16 – Ch 1 Spaces.

Weave in any loose ends with a yarn needle.

All Done… Congratulations on finishing week 1!!  I prefer to block these Granny Squares with a steam method.  Lay each Granny Square flat on ironing board.  Gently steam each square, being very careful not to press down on the  yarn… You will only hover over the square.  Gently manipulate each square into shape before it cools.  Leave on ironing board until completely cool.   If you prefer to block your squares by pinning them to a foam board and letting them sit that is also a great way to obtain a great shape!

Next week we will be joining these squares, so if you haven’t finished all of them… The joining will only take a small amount of time and you will be able to catch up…

Have a great week!!! Don’t forget to show up Friday evening on Facebook and share your progress. Check the Pinterest Board also… and for more discussion and fun… Hop over to Ravelry!

** My Free Patterns are made for your enjoyment.  If you find any errors, please email me at [email protected]**

*** You may make and sell products from my patterns but if you do I ask that you link back to my post. Please do not copy and post these patterns and claim it as your own. Please do not re-publish photos as your own.***

%d bloggers like this: