Disclaimer: This post includes affiliate links that I may get compensation from if you decide to make a purchase. Thank you for the support!

Throw Back Thursday Crochet…. The 1940’s

I have always love the styles of the early through mid 1900’s!!!  I decided to check out what crochet styles were popular starting with the 1940’s…  Oh how I love this crochet era!!!!  So many fabulous Hats, Snoods, Shawls, Purses and Filet Crochet Art Pieces!!!

My Grandmother Beatrice Ryan would have been in her 30’s in the 1940’s… She would have had two young boys and have just moved to the United States from her home in Canada!!  Her life was changing rapidly! They moved to Mt Shasta to start their own general store, which is still run by my family today!!  A few short years after moving to the US,,, my grandfather was killed in an automobile accident in 1946…  Beatrice was left to run the store with her teenage sons.. After serving in the Korean War, my father took over the family store and transitioned it into a hardware store.. almost 70 years later and my father, two brothers, my husband and  all of our children are(or have) working in the store in the same building Harold and Beatrice started in!

I think in the 1940’s Beatrice probably didn’t have much time to crochet!!!  But, when she did… I bet she made some great, stylish pieces…  I love the pictures of the Crochet Styles and wanted to see what you think…  Do you love this style or is there another era you love??

.

1940's turban hat 40_Knit_Cafe_Society_Sweater chair-sets-1940s-vintage-crochet-patterns-book-2fb6a Bette 1940FloralSnood e9172457d782e0b937cbe183c0309d5a CT09031568_6__87945-600x600 images crochet4 SFkhvintage-crochet-pattern-to-make-1940s-hat-turban-pillbo vintage-striped-turban-crochet-pattern CrochetedSoakers4303 l_PnfQ1940s-swing-era-ladys-crochet-crocheted-hat-pattern-ree


Happy Crocheting!!

Elena

.

.

.

.

.

.


Throw Back Thursday Crochet… The love of doilies!!

Last week I showed you a beautiful afghan my Grandmother Beatrice Ryan Ramshaw had made for her sister-in-law…  I loved pulling it out and wrapping up in it… Great memories of my Great Aunt and my Grandmother!!

This week I pulled out a small part of my Doily Collection…  She was known for her thread work and I remember many times watching her work on a doily or tablecloth!  When I was growing up, I would get to spend the night with my cousin at our Grandmothers house… She watched Big Time Wrestling and Crocheted…  Our treat was 7 up and Mothers Chocolate Chip Cookies…  We played dress up with her fur coats and beautiful dresses and we even were allowed to try on her gorgeous costume jewelry!  Great memories!!  So here are just a few of those doilies I inherited…

wpid-IMG_20140129_203427_619-1.jpg

.

wpid-IMG_20140129_203643_258-1.jpg

.

wpid-IMG_20140129_203722_079-1.jpg

.

wpid-IMG_20140129_203734_077-1.jpg

.

I use these doilies all around the house… I may have up to 50 of her doilies in my collection!!!  I do love working with thread… Just a month ago I found a beautiful ball of Peacock colored thread and whipped up my own doily…  I thought of her so much while I was working on it!!!

.

wpid-IMG_20131229_231646_712.jpg

Love this color!!! I would love to make a table runner out of this thread… Wouldn’t that be beautiful??


What about you??  Have you worked with thread…and if you have what have you made… Any tablecloths,,, table runners or doilies?


Happy Crocheting….

Elena

Beatrice Ryan Designs Crochet-A-Long Afghan… Week 1

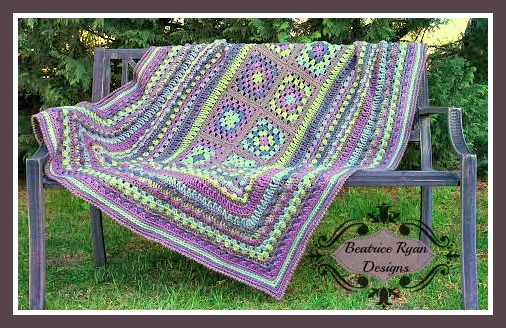
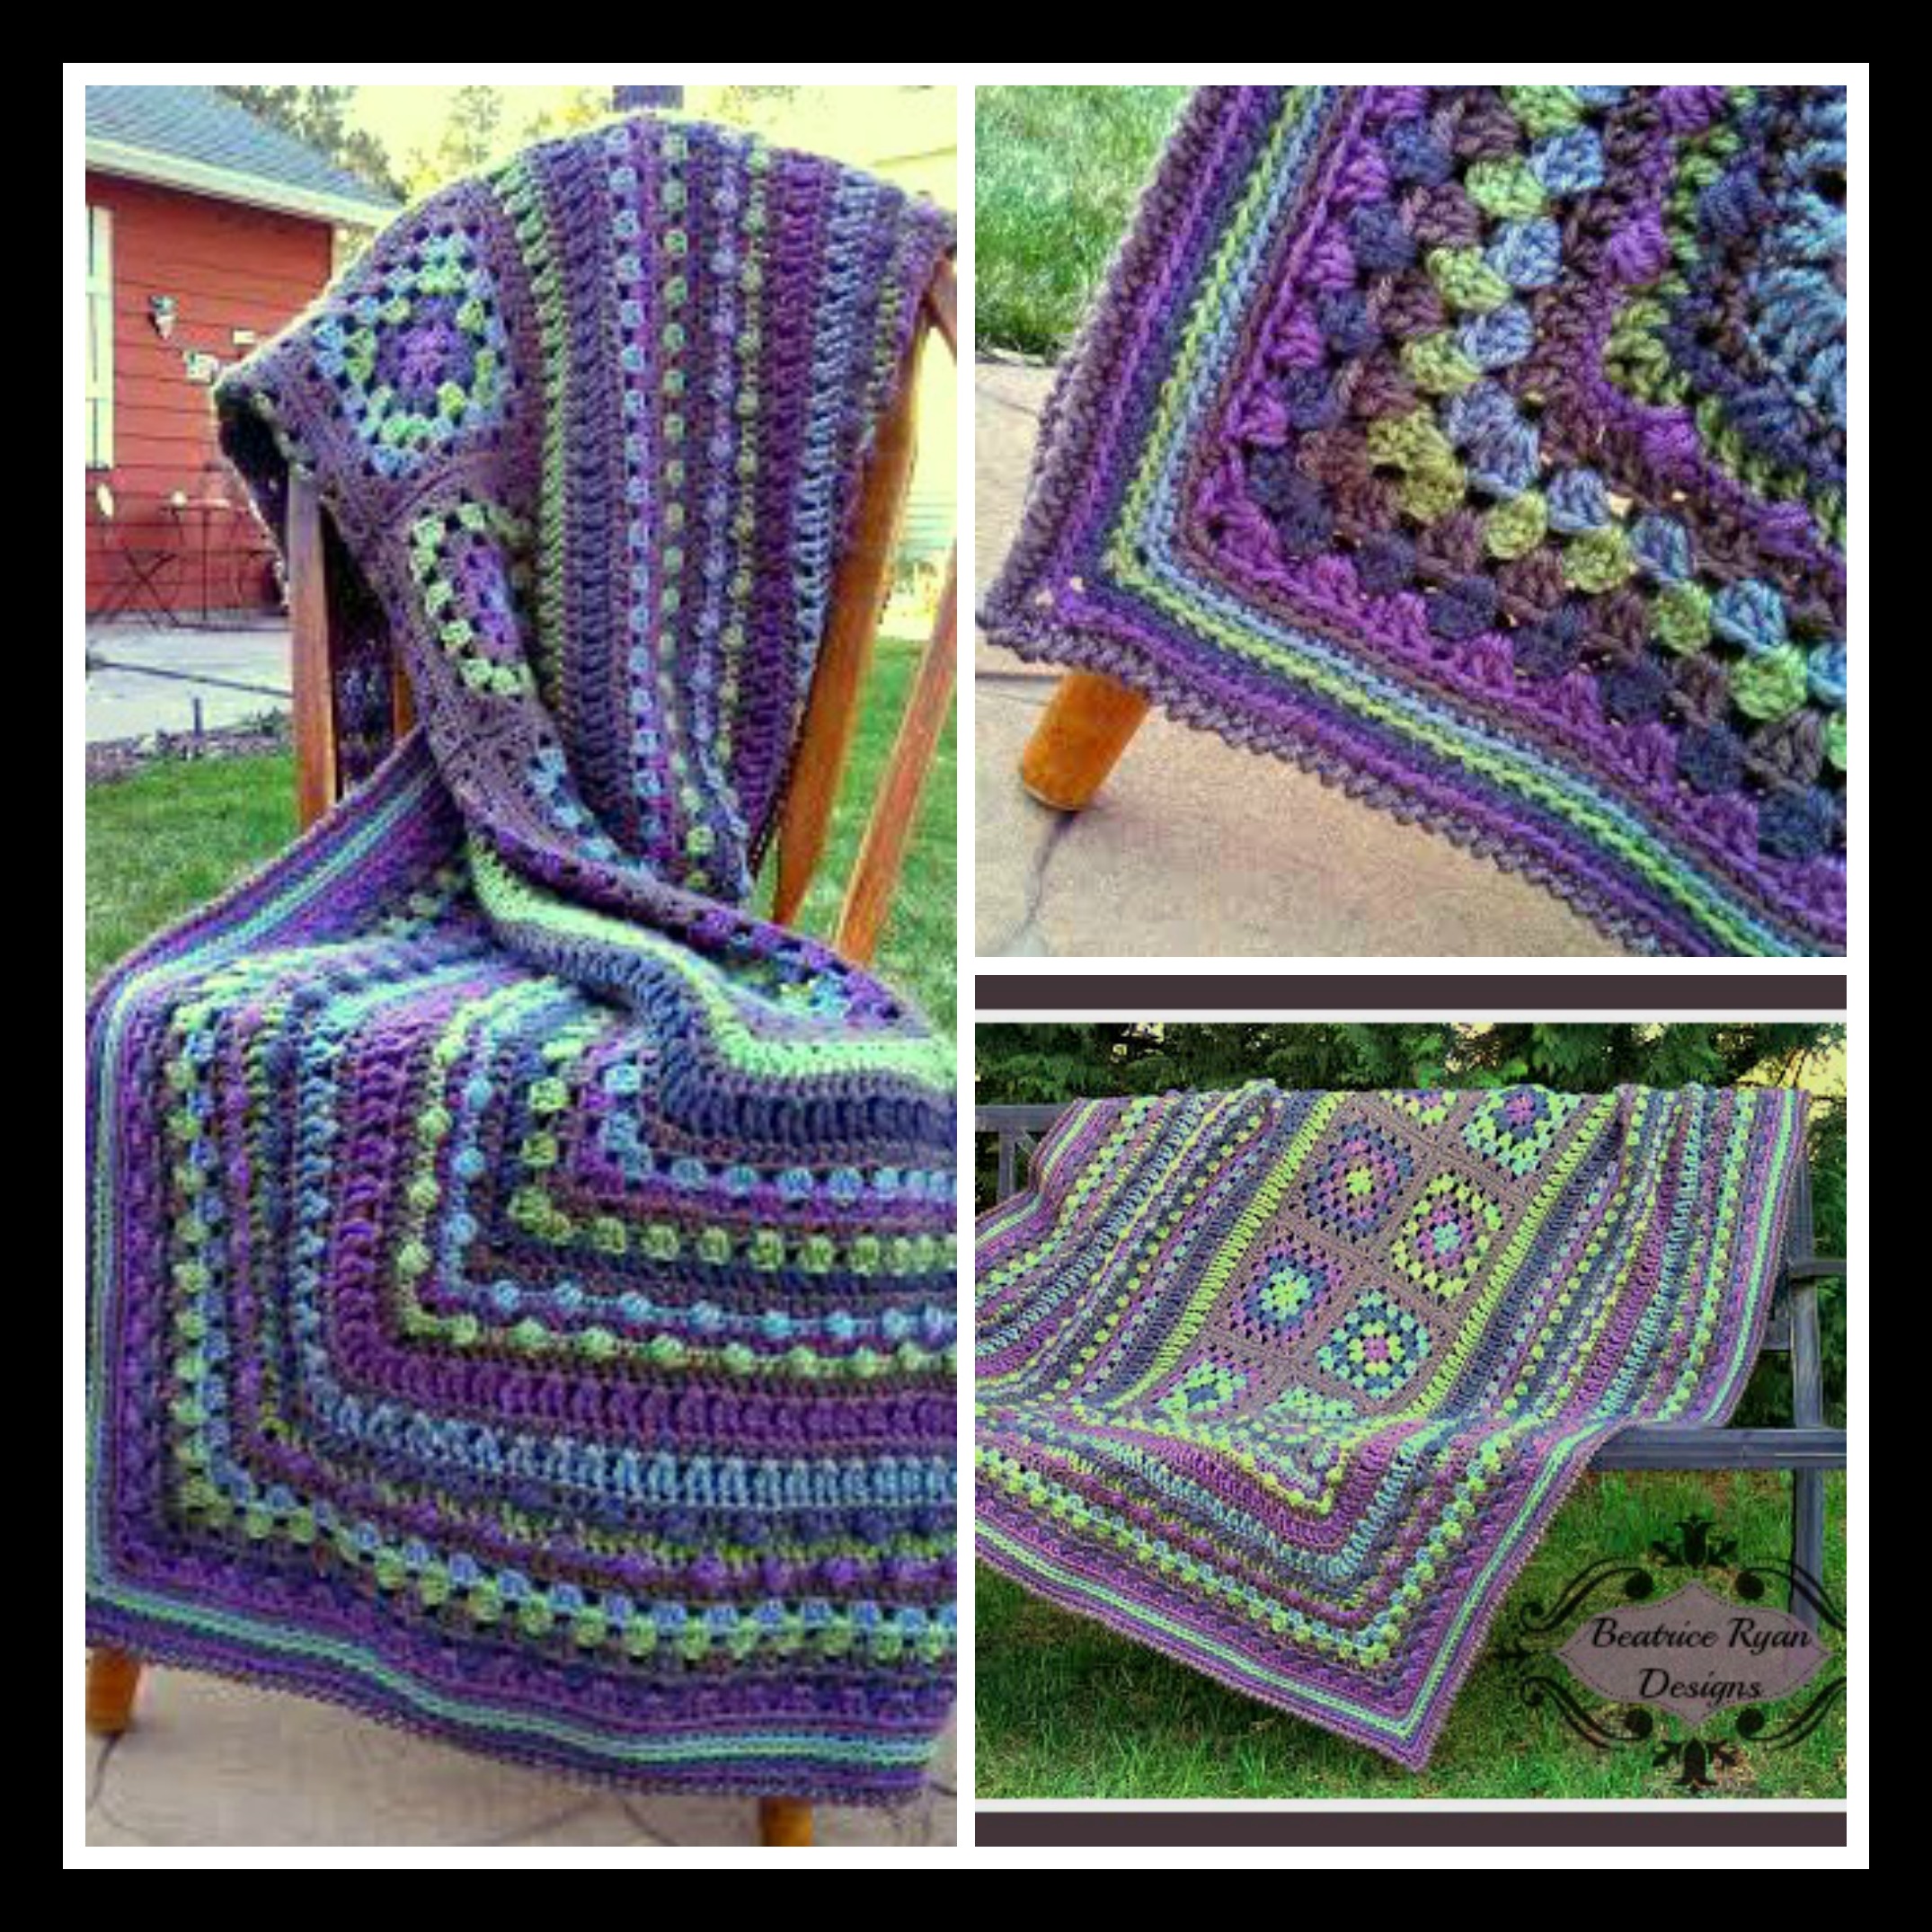
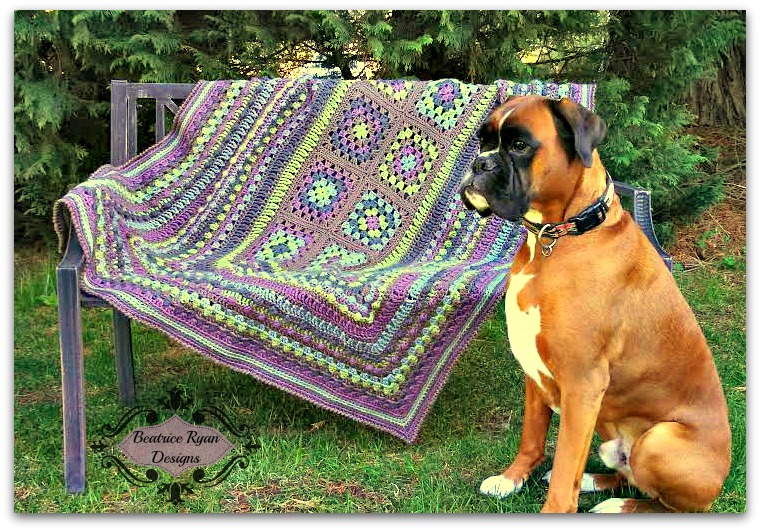
Here we go!  The time has finally come for us to start our Afghan!!  If you missed the materials list you can find that post in the Crochet-A-Long tab at the top of the page.  Each week I will post a Free Pattern section on Saturday morning…   All CAL weekly Free Pattern sections will be posted in the Crochet-A-Long tab throught the entire CAL.  Once complete it will be posted as a pattern in whole and available in the Pattern Tab.  You can follow along here each week, And you can also join me on Ravelry with my Crochet-A-Long Group, on Facebook each Friday evening for our “Show and Tell” and on our Pinterest Board designated just for this CAL… If you want to post your progress pictures on Pinterest you need to shoot me an email to [email protected] so I can add you to the group!

So here we go!!

This CAL will start with 8 basic Granny Squares, Each Granny Square should be approximately 6″-7″ across…  Gauge is not important so if you want to make a smaller or larger blanket you can adjust this by your hook size…The dominate or neutral color will be worked for the LAST ROW of each square.  You can use it more than once in your square if you desire.  These will be the only time we use Granny Squares in this pattern… We will be joining them together in a specific manner next week…  This afghan will be worked in the round.

.

wpid-IMG_20140112_131905_808-1-1.jpg     wpid-IMG_20140112_131237_504-1.jpg     wpid-IMG_20140112_131056_699-1.jpg

These are my 8 Granny Squares… I am loving my colors!!

.

Stitches:

Ch – Chain     Sl St – Slip Stitch     Sc – Single Crochet     Dc – Double Crochet

Tips:

I work over my ends as I go. This saves time weaving the ends in.  I also prefer the Magic Circle to start my project, Click Here for a video tutorial.  If you prefer to use the basic method of Ch 5, join into a ring that will work just fine!

You can use as many colors as you like, or make this a solid color afghan.

Instructions:  Make 8 Granny Squares

Make a Magic Circle

Row 1:     Ch 3 (Counts as Dc now and throughout), 2 Dc in center of ring, Ch 2, *3 Dc in ring, Ch 2*, Repeat * * 2 more times, Join with Sl St to top of Ch 3. Pull center tight = 4-Dc 3 clusters  and 4- Ch 2 spaces.   Fasten off.

Row 2:     Join next color to any Ch 2 space using a Sl St. Ch 3, 2 Dc in same as joining.  Ch 2, 3 Dc in same space, *Ch 1, 3 Dc in next Ch 2 space, Ch 2, 3 Dc in same space*, Repeat * * 2 more times. Ch 1 Join to top of Ch 3 with Sl St. Finish off. = 8 – Dc 3 clusters, 4 – Ch 2 Spaces and 4 – Ch 1 Spaces.

Row 3:     Join next color to any Ch 2 space using a Sl St. Ch 3, 2 Dc in same as joining.  Ch 2, 3 Dc in same space, *Ch 1, 3 Dc in next Ch 1 Sp, Ch 1, 3 Dc in next Ch 2 Sp, Ch 2, 3 Dc in same Ch 2 Sp*, Repeat * * 2 more times. Ch 1, 3 Dc in last Ch 1 space, Ch 1,  Join to top of Ch 3 with Sl St. Finish off. = 12 – Dc 3 Clusters, 4 – Ch 2 Spaces, 8 – Ch 1 Spaces.

Row 4:     Join next color to any Ch 2 space using a Sl St. Ch 3, 2 Dc in same as joining.  Ch 2, 3 Dc in same space, *Ch 1, 3 Dc in next Ch 1 Sp, Ch 1, 3 Dc in next Ch 1 Sp, Ch 1, 3 Dc in next Ch 2 Sp, Ch 2, 3 Dc in same Ch 2 Sp*, Repeat * * 2 more times. Ch 1, 3 Dc in next Ch 1 space, Ch 1, 3 Dc in last Chain 1 space, Ch 1.   Join to top of Ch 3 with Sl St. Finish off. = 16 – Dc 3 Clusters, 4 – Ch 2 Spaces, 12 – Ch 1 Spaces.

Row 5:     Join next color (Your dominant or neutral color)  to any Ch 2 space using a Sl St. Ch 3, 2 Dc in same as joining.  Ch 2, 3 Dc in same space, *Ch 1, 3 Dc in next Ch 1 Sp, Ch 1, 3 Dc in next Ch 1 Sp, Ch 1, 3 Dc in next Ch 1 Sp, Ch 1, 3 Dc in next Ch 2 Sp, Ch 2, 3 Dc in same Ch 2 Sp*, Repeat * * 2 more times. Ch 1, 3 Dc in next Ch 1 space, Ch 1, 3 Dc in next Ch 1 space, Ch 1, 3 Dc in last Ch 1 Sp, Ch 1.   Join to top of Ch 3 with Sl St. Finish off. = 20 – Dc 3 Clusters, 4 – Ch 2 Spaces, 16 – Ch 1 Spaces.

Weave in any loose ends with a yarn needle.

All Done… Congratulations on finishing week 1!!  I prefer to block these Granny Squares with a steam method.  Lay each Granny Square flat on ironing board.  Gently steam each square, being very careful not to press down on the  yarn… You will only hover over the square.  Gently manipulate each square into shape before it cools.  Leave on ironing board until completely cool.   If you prefer to block your squares by pinning them to a foam board and letting them sit that is also a great way to obtain a great shape!

Next week we will be joining these squares, so if you haven’t finished all of them… The joining will only take a small amount of time and you will be able to catch up…

Have a great week!!! Don’t forget to show up Friday evening on Facebook and share your progress. Check the Pinterest Board also… and for more discussion and fun… Hop over to Ravelry!

** My Free Patterns are made for your enjoyment.  If you find any errors, please email me at [email protected]**

*** You may make and sell products from my patterns but if you do I ask that you link back to my post. Please do not copy and post these patterns and claim it as your own. Please do not re-publish photos as your own.***